The stop shot is widely recognized by master billiard instructors as the absolute cornerstone of cue ball control, positional geometry, and stroke mechanics. While executing a stop shot appears deceptively simple on straight-in shots—striking an object ball full-face and causing the cue ball to instantly freeze dead in its tracks—the underlying physics demands an exact mastery of sliding friction, rotational kinetics, tip elevation, and stroke deceleration. Many amateur players mistakenly believe a stop shot requires striking the cue ball with extreme, exaggerated bottom spin (draw). In reality, a true dead stop occurs when the cue ball has zero forward roll and zero backspin at the exact millisecond of impact, sliding across the worsted wool cloth in pure translational friction. In this masterclass guide, we break down the Newtonian physics of translational sliding, analyze the 90-degree tangent line rule, evaluate stun shots on angle cuts, troubleshoot cue ball drift, and provide 5 progressive diagnostic practice drills.
Table of Contents
1. The Physics of the Stop Shot: Translational Sliding Friction Explained
To execute a flawless stop shot on demand from any distance on the table, a player must understand how a cue ball behaves after leaving the cue tip. When a billiard ball moves across cloth, it exists in one of three physical states:
- Pure Backspin (Draw Phase): Immediately after striking below the vertical center point, the ball skids forward while spinning backward. The cloth exerts forward kinetic friction against the bottom of the ball, continually eroding the backspin.
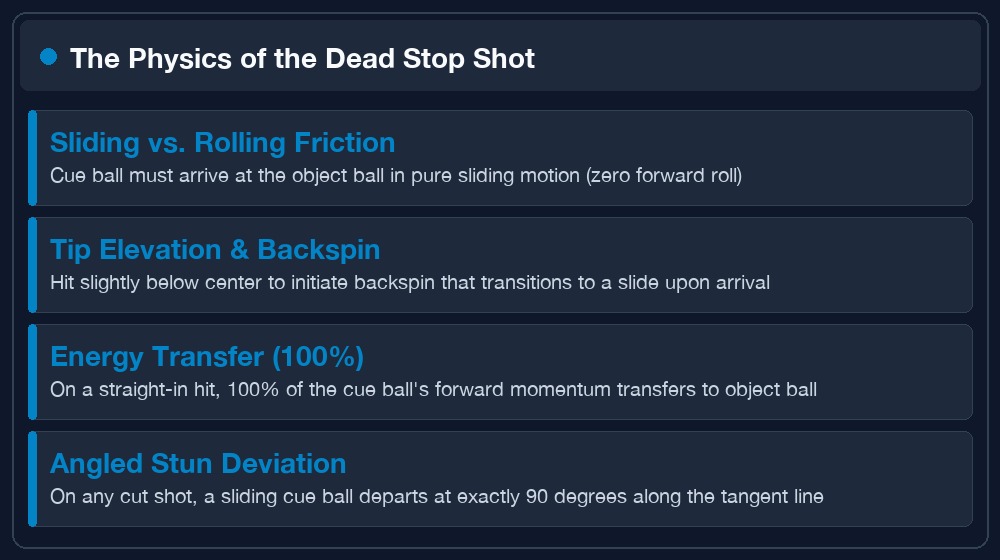
- Pure Sliding (Translational Skid Phase): As kinetic friction cancels the backspin, the ball reaches a temporary state of pure translational motion. The ball slides forward across the cloth with zero rotation (0 RPM). If the cue ball collides with an object ball during this exact sliding window, 100% of its forward kinetic energy transfers into the object ball, causing the cue ball to stop instantly dead in place.
- Pure Forward Rolling (Natural Roll Phase): If the ball travels further without hitting an object ball, friction with the cloth forces it to rotate forward until circumferential speed equals forward velocity (true rolling motion). If it strikes an object ball in this state, it follows forward.
Therefore, a stop shot is not an extreme backspin shot; it is an exercise in distance-speed calibration. To achieve a stop shot at a 2-foot distance, you need only strike a fraction of a tip below center with soft speed. At a 7-foot distance, you must apply lower tip offset or firmer speed so the backspin erodes into pure sliding precisely at the moment of impact.
| Shooting Distance | Tip Strike Height (Below Center) | Required Stroke Speed | Friction Transition State |
|---|---|---|---|
| Short Range (1 to 2 Feet) | 1/4 to 1/2 tip below center | Speed 1 (Soft touch: 2–3 mph) | Instant skid transition over short cloth contact |
| Medium Range (3 to 5 Feet) | 1 full tip below center | Speed 2 (Smooth medium: 5–7 mph) | Backspin dissipates into pure slide at 4 feet |
| Long Range (6 to 8 Feet) | 1.5 to 2 tips below center | Speed 3 (Firm delivery: 9–11 mph) | Extended skid maintaining slide across full table length |
| Full Table (9+ Feet) | Maximum low (chalked tip edge) | Speed 4 (Power stroke: 12–14 mph) | Demands pristine level cue to prevent ball hop |

2. Stun Shots vs. Stop Shots: Mastering the 90-Degree Tangent Line
While a stop shot occurs on straight-in shots (where the cut angle is 0 degrees), the exact same physical sliding state applied to an angled cut shot produces a stun shot. Understanding the tangent line is the single most valuable positional tool in competitive pool.
According to the 90-Degree Tangent Line Rule, whenever a sliding cue ball (one with zero forward roll and zero backspin) strikes an object ball at an angle, the cue ball departs along a path exactly perpendicular (90 degrees) to the object ball’s trajectory. If the cue ball retains forward roll upon collision, it follows forward off the tangent line (the 30-Degree Rule). If it retains backspin, it curves backward toward the shooter. By delivering the cue ball in a sliding stun state, you can predict its departure line with mathematical certainty, steering it between blocker balls or freezing it on rail cushions.
| Shot Classification | Cut Angle Range | Cue Ball Departure Path | Primary Positional Utility |
|---|---|---|---|
| Pure Dead Stop | 0° (Dead straight-in) | Zero movement (Freezes at contact point) | Holding position for break-out or next shot |
| Stun Shot (Tangent Line) | 10° to 60° cut angle | Exact 90° perpendicular line | Navigating narrow corridors without English |
| Stun-Follow | 15° to 45° cut angle | Mild forward drift ahead of 90° line | Drifting 12-18 inches forward off rail |
| Stun-Draw | 15° to 45° cut angle | Mild backward bend behind 90° line | Bending around a blocking ball into open table |
3. Step-by-Step Execution Protocol: The Five Fundamentals
Consistent stop shots require repeatable biomechanics. Follow this 5-point physical checklist on every attempt:
- Keep the Cue Level: Elevating the cue butt imparts downward force, driving the cue ball into the slate bed and causing it to hop. A hopping ball experiences unpredictable airborne drag and loses its sliding state. Lower your stance and bridge hand so the cue shaft is as close to parallel with the slate as possible (under 5 degrees of elevation).
- Set a Stable Low Bridge: Form a solid closed or open bridge with your knuckles lowered to the cloth. The bridge hand must anchor firmly to prevent vertical tip wobble during stroke delivery.
- Focus on Clean Tip Offset: Chalk your tip thoroughly. Place the tip tip 1/2 to 1 full tip diameter below center. Avoid striking at the absolute bottom edge of the ball, as unnecessary extreme draw requires overhitting the stroke.
- Smooth Acceleration Through the Ball: Do not “poke” or snatch the cue back abruptly upon contact. Accelerate smoothly through the cue ball with a relaxed wrist, allowing the cue tip to follow through 4 to 6 inches past the original ball position.
- Hold the Finish: Freeze your body and cue stick at the completion of your follow-through until all balls stop moving. Prematurely lifting your head during the stroke alters tip strike height and causes cue ball drift.
4. Troubleshooting Common Stop Shot Failures
When your cue ball fails to freeze dead, use this diagnostic guide to pinpoint the mechanical cause:
- Cue Ball Creeps Forward 2 to 6 Inches: Cause: The backspin dissipated into forward roll prior to impact. Fix: Either strike 1/4 tip lower on the ball or increase stroke speed slightly so the sliding phase persists all the way to collision.
- Cue Ball Drifts Backward 3 to 12 Inches: Cause: The cue ball retained active backspin upon collision. Fix: You struck too low or hit the ball too hard for that distance. Raise your tip strike 1/4 tip closer to center or soften your stroke speed.
- Cue Ball Glides Off to the Left or Right: Cause: Accidental side spin (English) or an off-center cut angle. Fix: Verify that the shot is truly straight-in. Ensure your cue tip strikes the vertical centerline of the ball; unintentional English creates squirt deflection and sideways drift.
- Cue Ball Hops upon Impact: Cause: Cue butt was elevated higher than 10 degrees, driving the ball into the slate bed. Fix: Lower your bridge, widen your stance, and level your cue stick.
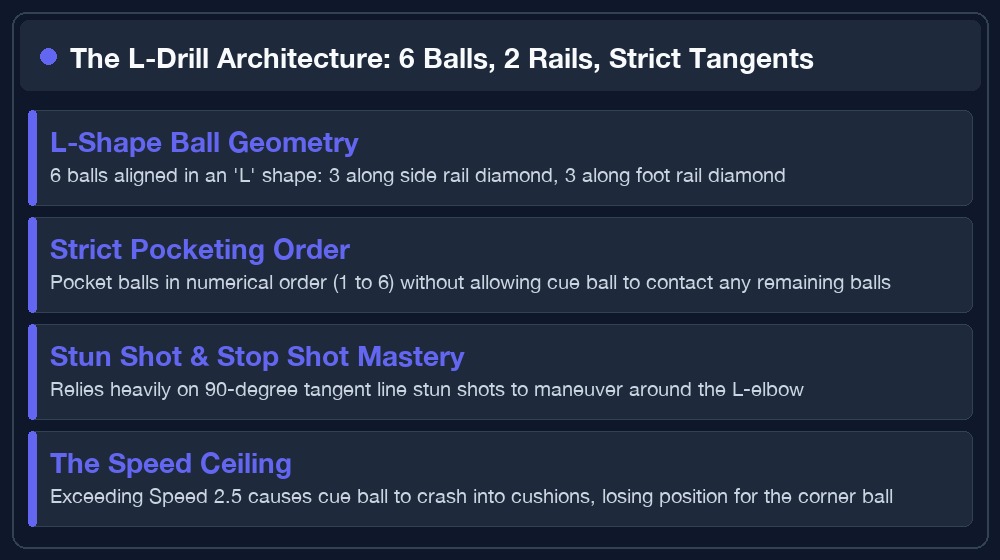
5. Five Progressive Stop Shot Drills for Muscle Memory
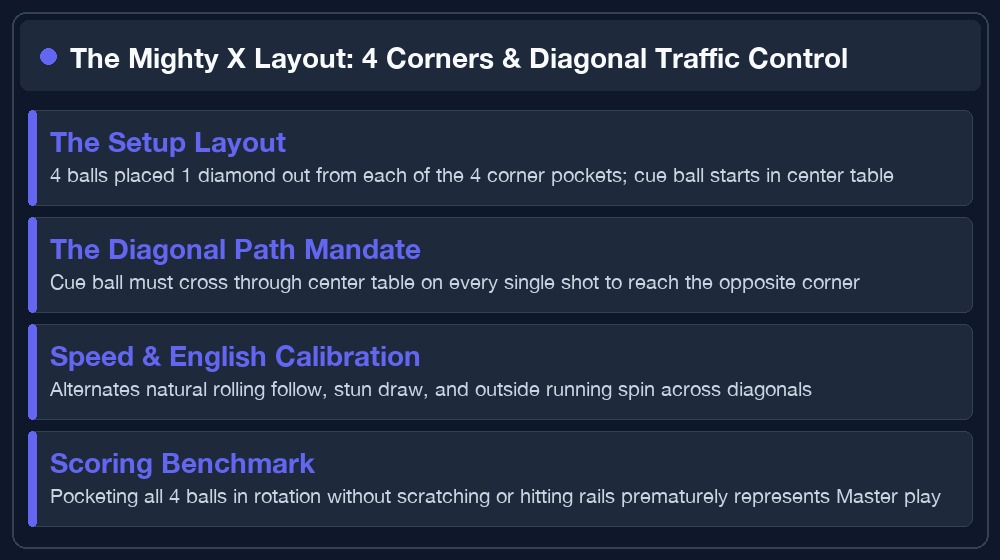
Incorporate these five diagnostic drills into your solo training regimen to build unbreakable cue ball control:
- The 2-Foot Tuning Fork: Place an object ball 2 feet from a corner pocket, aligned straight in. Place the cue ball 2 feet behind it. Execute 10 consecutive stop shots. The cue ball must stop within 1 inch of the collision point on all 10 shots.
- The Ladder Progression: Start at 2 feet distance. Once you execute three consecutive dead stops, move the cue ball back to 4 feet. Once mastered, move to 6 feet, and finally 8 feet across the table. Notice how your tip height must drop lower as distance expands.
- The Chalk Cube Boundary: Place an empty chalk cube 2 inches directly behind the object ball. Execute stop shots without allowing the cue ball to roll forward and bump the chalk cube.
- The 90-Degree Tangent Drill: Set up a 30-degree cut shot into a side pocket. Place a piece of paper on the opposite rail along the mathematical 90-degree tangent line. Execute a sliding stun stroke and confirm that the cue ball rolls directly across the paper marker.
- The Cloth Speed Calibration: Perform stop shots on different cloth conditions (e.g., brand-new Simonis 860 vs. worn bar felt). Note that slick worsted cloth preserves backspin longer, requiring less extreme draw than slow woolen felt.
6. Pro vs. Amateur Stroke Case Study
Using a 240 FPS high-speed motion capture camera, our coaching staff analyzed the stop shot mechanics of an APA Skill Level 4 amateur versus a touring professional on an identical 6-foot straight-in shot. The amateur struck the cue ball at 2.5 tips below center with excessive muscular grip tension, delivering an abrupt stabbing motion. The ball hopped twice in the air, landed with heavy backspin, and drifted 14 inches backward.
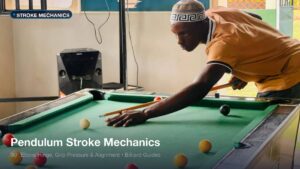
The touring pro struck the ball at exactly 1.1 tips below center with a silky pendulum stroke and zero grip constriction. The cue ball slid smoothly across the worsted cloth without a single millimeter of bounce, reaching 0 RPM exactly 2 inches prior to impact and freezing dead within 2mm of the collision point. Takeaway: Fluid stroke acceleration and minimal necessary tip offset produce dead stops; violent stabbing strokes create chaos.
7. Cloth Friction & Equipment Influences
The ease of executing stop shots is directly tied to your equipment environment:
- Worsted Wool (Simonis 860): Worsted cloth has minimal surface drag. Sliding states persist for much longer distances, allowing players to execute long-range stop shots with relatively soft stroke speed.
- Napped Woolen Felt: Thick fuzzy bar cloth generates aggressive friction, rapidly stripping backspin within the first 3 feet. Executing a long-range stop shot on bar cloth requires significantly firmer speed.
- Cue Tip Hardness: Soft and medium layered tips (such as Kamui Original Medium or Moori) provide extended contact dwell time, making it easier to impart clean, spin-free sliding states without miscueing.
8. Frequently Asked Questions (FAQs)
Do you have to hit the bottom of the cue ball for a stop shot?
Not always. On short shots (under 2 feet), striking just 1/4 tip below center or even dead center with a firm punch can slide the cue ball to a dead stop. As shooting distance increases, you must strike progressively lower to delay forward roll.
Why does my cue ball roll forward after hitting the object ball?
Your cue ball transitioned from sliding into forward roll before it reached the object ball. To fix this, strike slightly lower on the ball or increase your stroke speed so the sliding state persists until impact.
What is the difference between a stop shot and a stun shot?
A stop shot occurs on straight-in shots (0-degree cut angle) where the cue ball freezes in place. A stun shot applies the exact same sliding state to an angled cut shot, causing the cue ball to separate along the 90-degree tangent line.
Why does my cue ball jump or hop when I attempt a stop shot?
Hopping happens when your cue stick is elevated at too steep an angle, driving the ball down into the slate bed. Keep your cue stick as level and parallel to the cloth as possible throughout your entire stroke.
Can you execute a stop shot with side spin (English)?
Yes, but side spin complicates the shot. While the cue ball will stop its forward momentum, the side spin will cause it to spin in place on its vertical axis or drift sideways upon contacting the object ball. Pure stop shots should be struck on the vertical centerline.
How does cloth speed affect the stop shot?
Fast worsted cloth (like Simonis 860) has lower friction, allowing backspin to slide much further before turning into forward roll. Slower woolen cloth creates higher friction, requiring lower tip contact and firmer speed to achieve a stop at the same distance.
What bridge should I use for a stop shot?
A stable closed bridge or a low open bridge with your knuckles firmly pressed against the cloth provides the greatest vertical stability, ensuring your tip height does not deviate during the forward delivery.

Marc Robert is the founder, chief technician, and senior equipment tester at Billiard Guides. With over 15 years of competitive amateur tournament and league experience (APA Skill Level 7 & BCA Master Division), Marc pairs deep table-side knowledge with rigorous mechanical bench testing. A certified cue mechanic and table mechanic, Marc specializes in three-piece slate alignment (calibrated using Starrett 98 precision machinist levels to ±0.005″), high-speed 240fps cue shaft deflection analysis, Shore D durometer tip hardness profiling, and Simonis worsted cloth friction testing. His independent reviews, drill curricula, and diagnostic calculators are trusted by over 500,000 cue sports players worldwide.